Spring is supposed to be about breathing. Fresh air. Lighter fabrics. But if you’ve ever peeled off a winter layer only to find your skin screaming in protest, you know the reality is messier. Your lips crack. The wings of your nose turn into a desert. Those dry, flaky patches on your cheeks that refused to leave in February? They’re back, clinging on like bad memories.
We’ve all been there. You dig into your bag for that emergency stick. It’s usually sticky, sometimes greasy, and rarely fixes the root problem. And honestly, looking at the price tag for another tiny tube of “sensitive skin” balm? It stings more than the wind.
Here is the truth: you don’t need a complex chemical cocktail to repair your barrier. You need simplicity. You need three raw ingredients. You need a pot.
Why Commercial Sticks Fail Your Skin Barrier
Let’s be real. Sticks are convenient. They click out, you swipe, you’re done. But convenience often comes at the cost of efficacy.
Many commercial balms rely on heavy silicones or waxes that sit on the skin rather than feeding it. For a moment, you feel protected. Then the product wears off or melts away, and your skin is left more exposed than before. It’s a cycle of dependency. Plus, the texture can be a nightmare on flaky skin. That “slip” you feel? It’s often just the product sliding over dry patches without actually hydrating them.
And then there’s the composition. Fragrances. Preservatives. Synthetic thickeners. When your skin is already compromised by winter’s harshness, adding more potential irritants is a gamble you don’t need to take.
But let’s talk about the wallet, because that’s the silent drain. A $15 stick might seem cheap until it empties in three weeks. Add up the packaging waste, the lost caps, and the constant repurchasing. It’s a diffuse expense that adds up fast. A homemade balm in a reusable jar isn’t just kinder to your skin; it’s an act of financial rebellion.
The Under-Euro Recipe for Instant Relief
This isn’t just a trend. It’s chemistry. We’re using three ingredients that work in harmony to create a protective cocoon.
- Beeswax: The structural backbone. It creates a semi-occlusive barrier that locks in moisture without suffocating the skin. It’s nature’s way of telling your skin, “I’ve got you.”
- Virgin Coconut Oil: The nourisher. It melts on contact, sinking into rough areas like cracked lips or dry nose wings.
- Liquid Honey: The healer. Honey is humectant, meaning it draws moisture into the skin. It also has natural soothing properties that calm irritation.
Together, they create a balm that is homogenous, non-greasy, and incredibly effective.
How to Make Your 3-Ingredient Balm
You don’t need a lab. You need a heatproof bowl and a small jar.
Ingredients:
* 10g Beeswax pellets (or grated block)
* 15ml Virgin Coconut Oil
* 5ml Liquid Honey
The Process:
- Melt: Place the beeswax and coconut oil in a heatproof bowl over a pot of simmering water (a double boiler). Stir until completely liquid and combined. This takes a few minutes. Be patient.
- Cool Slightly: Remove from heat. Let it sit for a minute so it’s warm, but not hot. Why? Because adding honey to boiling oil can degrade its beneficial enzymes.
- Mix: Stir in the honey. It might look separated at first, but keep whisking vigorously until it emulsifies into a smooth, creamy mixture.
- Pour: Immediately pour into your clean, dry jar. A wide-mouthed container is best for scooping.
- Set: Leave it at room temperature. Within 30-60 minutes, it will solidify.
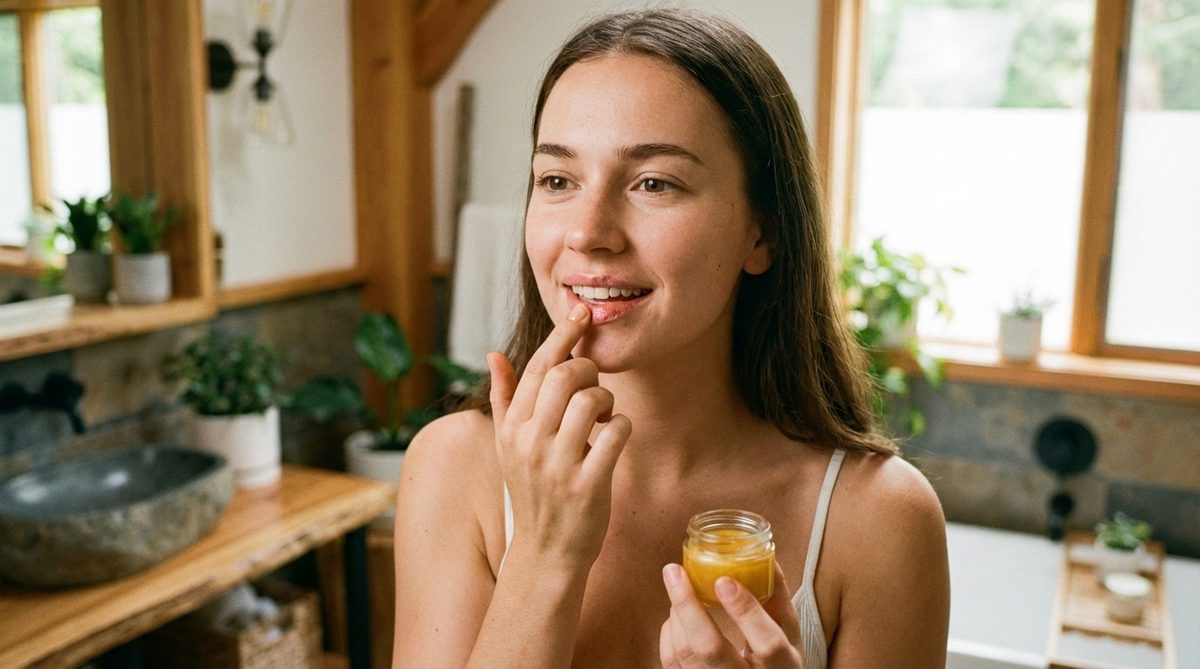
Once hardened, you have a rich, edible-grade balm. Use a clean fingertip or a small spatula to scoop out a pea-sized amount. Rub between your fingers to warm it up, then press onto dry areas.
Customizing for Your Skin Type
This recipe is a base, not a rulebook. Adjust it based on your climate and skin needs.
- Too soft? Increase the beeswax by 2-3g. This makes the balm firmer, which is great for hot climates or for preventing it from melting in your bag.
- Too hard? Reduce the beeswax slightly or add a drop more coconut oil. This makes it melt faster on contact, ideal for very dry, cracked lips.
- The Jar Matters: A small glass jar with a wide lid is ideal. Avoid jars with narrow necks; trying to scoop firm balm out of a tiny hole with dirty fingers is a hygiene nightmare.
Why This Beats the Store-Bought Alternative
The difference isn’t just price. It’s transparency. When you make this, you know exactly what’s touching your face. No hidden parabens. No synthetic fragrances triggering your allergies. Just beeswax, coconut, and honey.
It’s also more stable for short-term use. Since you make small batches, you’re using fresh ingredients every few weeks, rather than a chemical-laden tube sitting in your bathroom for months.
Start small. Make one pot. Test it on your lips, your nose, your cheeks. See how your skin responds. It might just be the simplest fix you’ve been looking for all winter.
But here’s the thing: the balm is only half the battle. How you use it, and what you don’t do, matters just as much. We’ll get to that next.
Why this balm beats the stick for dry, irritated skin
The moment you touch your skin with this balm, the relief is instant. Unlike the slick, slippery film some sticks leave behind—which often feels like it’s just sitting on top of your face—this paste adheres. It seals in moisture without turning sticky, provided you don’t apply a heavy hand.
Think about those raw corners of your nose after a cold, or lips that feel tight and ready to crack. A stick might slide right off. This pot? It stays. It creates a uniform layer that protects against wind, cold, and friction. And because the texture is dense, you only need a tiny amount. No waste. No overload.
This isn’t a daily face cream. It’s a targeted rescue mission.
It works best on specific trouble spots: dry cuticles, flaky cheekbones, the outer rim of your nostrils, or those painful vertical cracks on your lips. It’s also great for soothing mild irritation from weather changes. But here’s the rule: keep it local. Do not slather this all over your face if your skin tends to get shiny. It’s a protective barrier, not a hydrating serum. It locks in comfort; it doesn’t add water.
Storage and safety checks
There are a few quirks to watch out for. Coconut oil melts. If you leave this pot in a hot car or in direct sunlight, it will turn into liquid. Keep it in a cool, dark place, especially as spring temps start to spike.
Hygiene matters more than you’d think. You’re dipping fingers into a shared environment. Use clean hands or a small spatula to scoop it out. Close the lid immediately.
Also, a quick patch test is wise if you have reactive skin. This formula contains beeswax and honey. Both are wonderful, but they aren’t for everyone. If you have a significant open wound or severe damage, skip the DIY balm and see a pro.
Habits that make the balm work longer
Application timing changes everything. The best time to use this balm is at night. Your skin repairs itself while you sleep, and the protective film has hours to work without being wiped off by pillowcases or masks.
During the day? Just a hint. A tiny dab on lips before you head out into the wind is enough. A thick layer in the afternoon just looks greasy and attracts dust. You want a flexible shield, not a mask.
If your skin is peeling, gently clean the area first. If you seal over dead skin cells, you’re just trapping dirt. A soft cleanser keeps the canvas clean so the balm can actually do its job.
But the balm is only half the equation. Your daily habits determine your skin’s resilience.
- Internal hydration: Drink water. Eat healthy fats. Your skin barrier is built from the inside out.
- Sleep: Lack of sleep makes skin look tired and feel tight.
- Gentle cleansing: Stop using harsh scrubs or hot water. They strip your natural oils, leaving your skin begging for protection.
Avoid scalding hot showers. Hot water strips the lipid layer your skin needs to stay supple. In spring, the weather swings wildly—cold mornings, warm afternoons. Your skin doesn’t know what’s coming. A little extra protection helps.
Stress also shows on your face. When you’re stressed, your skin barrier weakens. It reacts faster to irritants. A simple, consistent routine beats a complex one every time.
The bottom line
This little pot replaces the stick for lips and dry patches because it’s transparent, cheap, and effective. The texture is customizable. The protection is real. The cost is low.
The trick isn’t the product. It’s the application. Thin layer. Targeted areas. Consistent routine.
We spend so much time accumulating products that promise to fix everything, only to end up with a cabinet full of half-used jars and skin that’s still confused. What if the real luxury isn’t a new serum? What if it’s just knowing exactly what goes on your skin, why it’s there, and leaving it alone otherwise?